
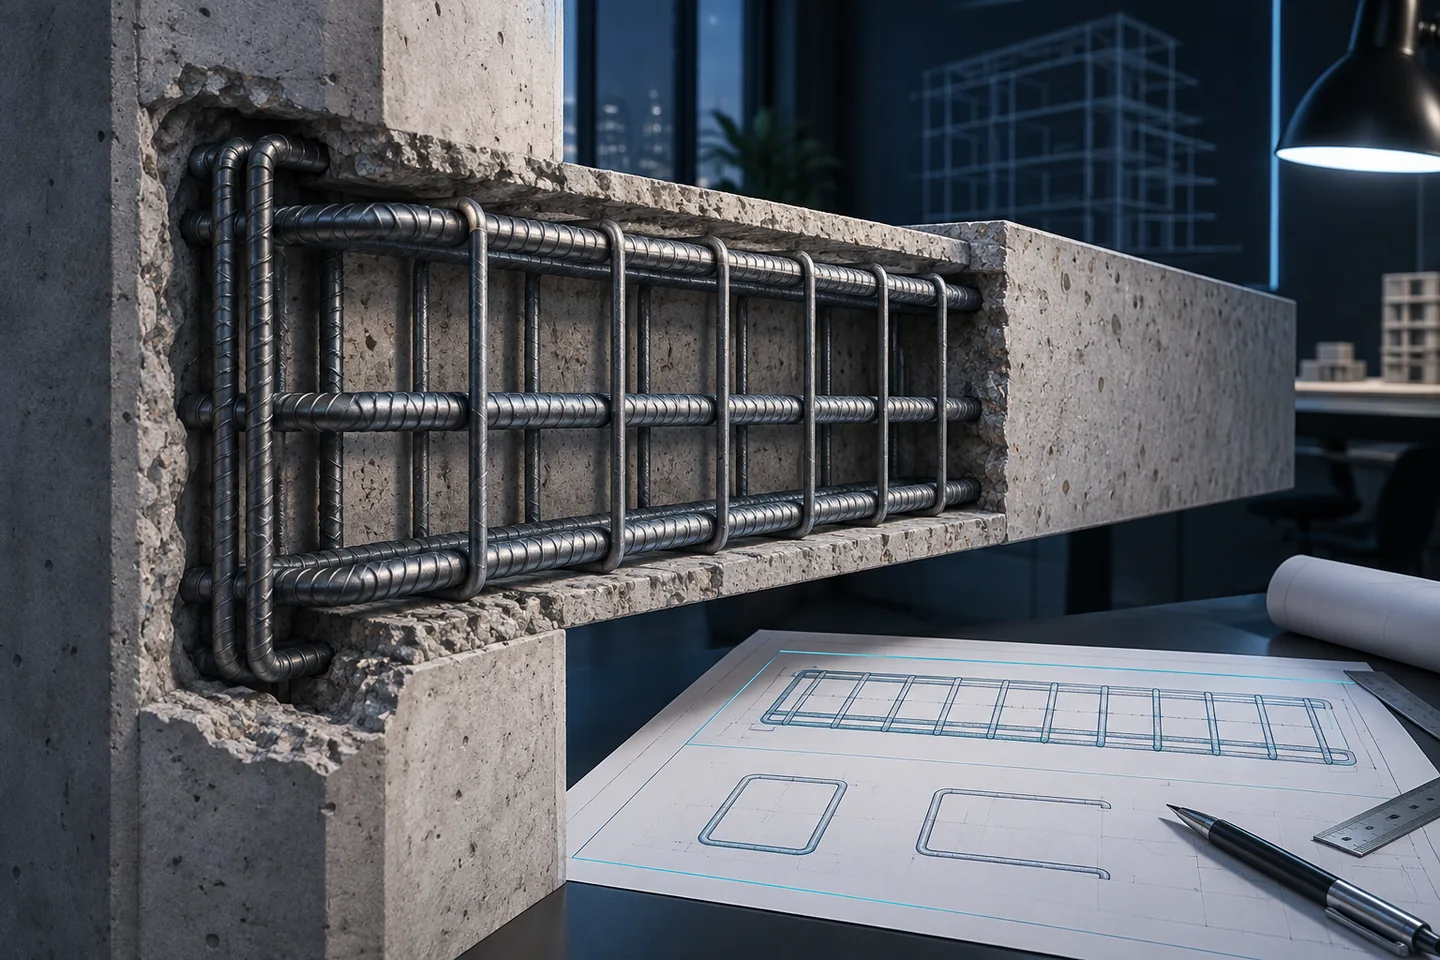
Treat the feature as documentation
BIM Pure’s Revit 2024 roundup identifies rebar bending details among the structural improvements. Autodesk documents these as annotations that can appear in schedules or in 2D views containing the host reinforcement, with configurable graphics and dimensions. That is a documentation capability, not a bar-design check. The engineer still establishes bar shape, diameter, cover, anchorage, spacing and design intent through the project’s approved process.
A useful pilot asks a narrow question: can a detailer place and maintain bending diagrams that help a reviewer or fabricator interpret selected reinforcement? Keep that question separate from whether the reinforcement itself is adequate. The latter requires approved design information and engineering review, not a drawing feature.
Choose a representative test element
Use a disposable model or a controlled copy of a simple beam with a small number of reinforcement sets. Include a straight longitudinal bar, a closed stirrup and one shape whose plane is not parallel to the primary view. Choose bars whose intended dimensions and orientation are already documented independently. Record the Revit version, bar types, shape families, view scales and schedule configuration so another detailer can reproduce the test.
Do not begin with a congested transfer member or a project sheet containing live issue information. The objective is to test annotation behavior in a case that is easy to inspect.
Place the detail with intent
Autodesk’s placement guidance allows bending details to be created from selected rebar sets or by starting the command and selecting bars. A detail created from a set represents its first included bar by default; selecting an individual bar is possible. This distinction matters when a set varies in dimensions: verify which bar the annotation describes rather than assuming the set’s graphic represents every instance.
Place a detail in a plan, section or elevation that contains the host reinforcement. Test whether it belongs beside the set, within a schedule, or both. Keep references legible and avoid placing a diagram where another annotation could make the bar association ambiguous. If a diagram must be rotated or repositioned for clarity, preserve an unambiguous relationship to its tag or schedule row.
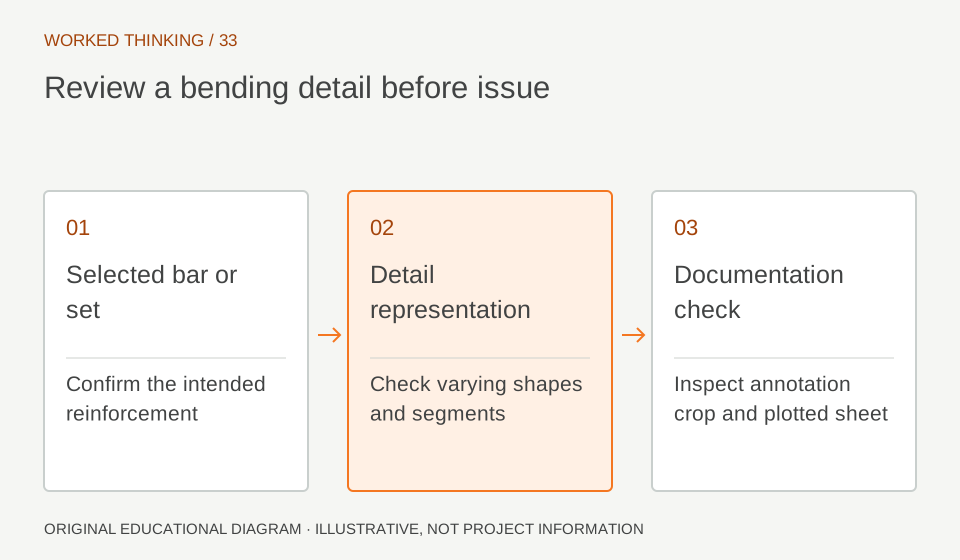
Read diagram notes
- Selected bar or set
- Confirm the intended reinforcement
- Detail representation
- Check varying shapes and segments
- Documentation check
- Inspect annotation crop and plotted sheet
Configure what readers need
Use a small graphic standard for the pilot: dimension style, line weight, text size and the treatment of closed shapes. Autodesk exposes choices such as unfolded or offset representations for closed or overlapping shapes, and plan or isometric views for 3D shapes. Select a representation that the intended reader can interpret; do not assume the most compact image is the clearest.
Review the actual plotted sheet at its intended paper size. Check dimension collisions, hook visibility, angular notation, unit conventions and whether dimensions can be read without zooming. A detail that looks clear on screen may fail at issue scale. Confirm any project-specific fabrication convention with the responsible detailer or fabricator.
Probe updates and selection edge cases
Change one bar parameter in the test copy and confirm the detail updates as expected. Then test a set whose first bar is not representative of the whole set. If the set contains varying dimensions, inspect the available setting for whether to show the referenced bar or a minimum-and-maximum range. Compare the result with the schedule and model; never infer that an updated annotation proves the underlying model was changed correctly.
Check behavior in a second view and with annotation crop enabled. Autodesk notes that bending details are annotation objects, are hidden by annotation crop, and can be dimensioned. These properties can affect the sheet layout and view extents. Document any move, rotation or override so later edits do not quietly obscure the diagram.
Set acceptance evidence
A practical acceptance record includes the before-and-after view, plotted sheet, corresponding schedule row and a short list of known exceptions. Ask a second detailer to identify which bar a sample diagram describes and to find the same mark in the schedule. If two competent readers interpret it differently, revise the placement or association before standardizing.
The pilot should also state which shapes and views were tested. It does not establish universal support for every custom shape, family or fabrication workflow. Where a shape’s exact geometry or dimensions are unclear, use the project’s established checking route and resolve the source data before issuing the annotation.
Adopt only the tested convention
If the pilot succeeds, add the chosen graphics and placement rules to the reinforcement-detailing procedure. Name the tested Revit release, applicable view types, schedule use and any conditions that require manual review. Keep one accepted sample sheet with the procedure so the standard has a visual reference.
Bending details can make reinforcement documentation more informative, but they do not establish design adequacy, code compliance, constructability or fabrication acceptance. The engineer, checker and detailing lead retain their respective review responsibilities. Revisit it when schedules, templates or supported versions change.